Water Softener Installation: The Step-by-Step Job, Start to First Soft Water
How to install a water softener: tools, bypass, flow direction, drain line and air gap, programming and startup, plus the five mistakes that cause callbacks.
By Home Water Lab TeamUpdated Prices verified Oct 7, 2026
This page contains affiliate links; buying through them costs you nothing extra.
Installing a water softener is a two to four hour plumbing job with four connections: in, out, drain and brine overflow. The parts that cause trouble are not the pipework. They are the flow direction, the air gap on the drain, and the hardness number you program into the valve before the first regeneration.
The short answer
as of Sep 21, 2026How do you install a water softener?
Shut off the water and drain the line, cut into the main after the meter and before the water heater, fit the bypass valve that came with the unit, connect inlet to the supply side and outlet to the house side following the arrows on the valve head, run the drain line to a standpipe or floor drain with a physical air gap, run the brine overflow separately, then fill the brine tank, program your hardness in grains per gallon and run a manual regeneration. Budget two to four hours for the job and 24 to 48 hours before the whole house runs soft.
This page is the method. If what you need is the price, our water softener installation cost guide has the $300 to $1,500 range broken down by what moves it, and the water softener hub covers choosing the machine in the first place.
Key takeaways
- Position first: after the meter, before the water heater, within reach of a drain and an outlet.
- Flow direction is the most common failure. Inlet from the supply, outlet to the house, arrows stamped on the valve head.
- The drain line needs a physical air gap. Pushed into a standpipe, it is a cross-connection waiting for a pressure drop.
- Program your actual hardness in grains per gallon, plus 5 gpg for every 1 ppm of iron, or the unit regenerates on the wrong schedule forever.
- Open the bypass slowly on first fill. Full pressure into a dry resin bed sends media into the house plumbing.
Before You Cut Anything: Four Checks#
Most failed installations were decided before a tool came out of the box.
Confirm all four, in this order
4 itemsThat third and fourth line are where a lot of plans stop. No drain and no outlet where the equipment must go is the single most common reason a household ends up with a salt-free conditioner instead, which needs neither and also does not soften the water. Renters and anyone with a single accessible connection have a third route, the manually regenerated units in our portable softener guide. If that trade is news to you, read salt-based vs salt-free before buying anything.
The hardness figure matters more than people expect, because it is not just a buying input. It is programmed into the valve and it sets the regeneration schedule for the life of the unit. If you have not sized the machine yet, what size water softener do I need does that arithmetic, and getting it wrong in either direction costs salt or costs capacity.
Where the Softener Goes in the Line#
The install, in order
- Main shut-offEverything downstream starts here. Find it and turn it before you buy anything: an install with no working shut-off is a plumber's job, not a Saturday.
- Untreated branchOutdoor taps and irrigation tee off before the softener. A lawn does not care about hardness, and softened water is salt you paid for. Many installs run the kitchen cold tap off this same branch and keep drinking water untreated.
- Bypass valveTakes the softener out of service without cutting water to the house. It is what turns a resin change from an outage into an errand.
- SoftenerOn the main line, ahead of anything that heats water. Everything downstream of this point is soft; everything on the untreated branch is not.
- Brine tankStands within a few feet of the valve, and needs enough clearance overhead to lift a 40 pound bag of salt over the lid.
- Drain line, with air gapBackwash has to reach a drain, and the gap above it is what code asks for. The distance to that drain is the most common reason an install ends up on a different wall.
- Water heaterDownstream, on purpose. Scale forms fastest where water is heated, so the heater is the appliance a softener is really protecting.
- Power outletThe control valve needs power within reach of its cord. The battery inside only holds the clock, it does not run a cycle.
Schematic: pipe runs, wall space and distances change with every house. The order does not. Main, then the untreated branch, then the bypass, then the softener, then the heater, plus the three things a control valve has to reach: a drain, its brine tank and an outlet.
Three positioning rules, and the second one surprises people.
After the meter, before the water heater. Every fixture downstream of the softener gets soft water, and protecting the heater is most of the financial case for owning one.
Leave outdoor spigots upstream if you can. Lawns and gardens do not need soft water, and irrigation through a softener burns salt and capacity for nothing. On many houses the outside tap is already branched off ahead of where the softener goes; if yours is not, it is worth the extra fitting.
Keep the drinking tap in mind. Softened water carries the sodium the resin exchanged for hardness. Households that care about that usually leave the kitchen cold tap upstream, or fit a reverse osmosis system on it afterwards, which removes the sodium along with everything else.
The Installation, Step by Step#
Two to four hours, start to finish
Shut off, drain, depressurise
Close the main, open the lowest tap in the house and the highest one after it, and let the line empty. Turn off the water heater at the breaker or the gas valve: a heater firing into an empty tank is how this job goes badly wrong.Assemble the bypass on the bench
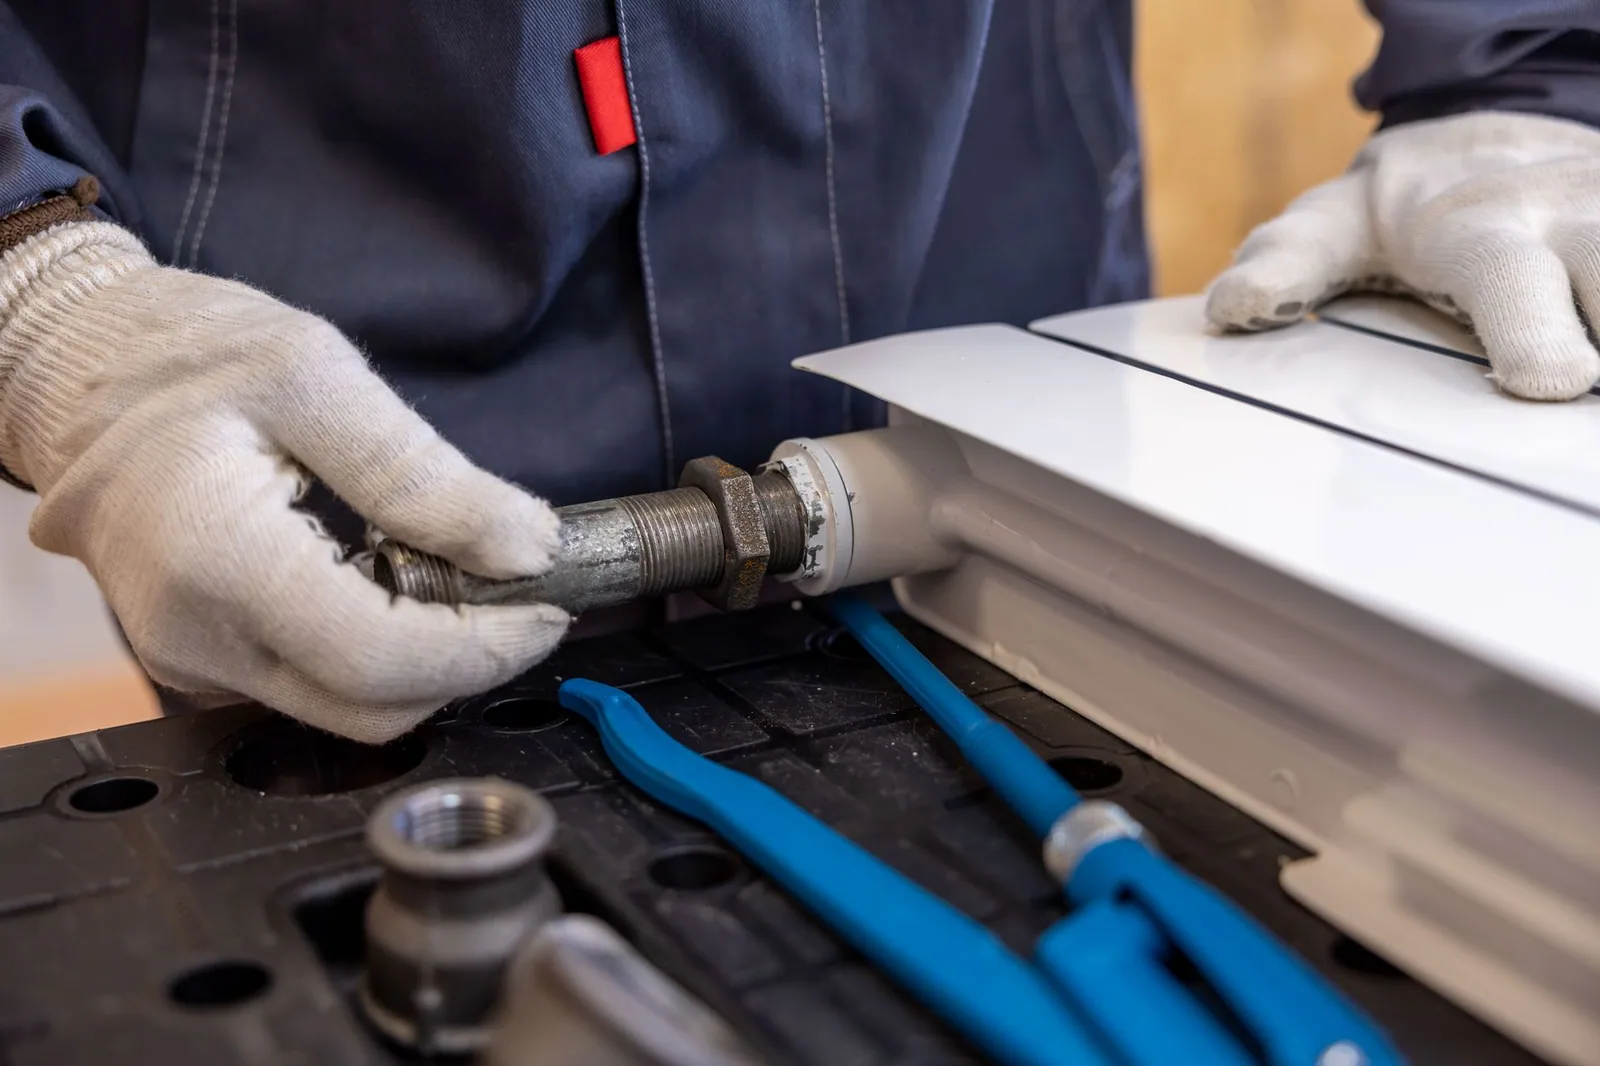
Fit the bypass valve to the softener head before it goes anywhere near the wall, with the O-rings lubricated using the silicone grease in the box. Doing this at waist height rather than on your back in a crawlspace is the single biggest comfort gain available.Cut in and fit the connections
Cut the main and fit your transition to the bypass, flexible connectors or hard pipe according to local code. Deburr every cut end: a burr shreds an O-ring and you will not find the leak until the pressure is back on.Respect the arrows
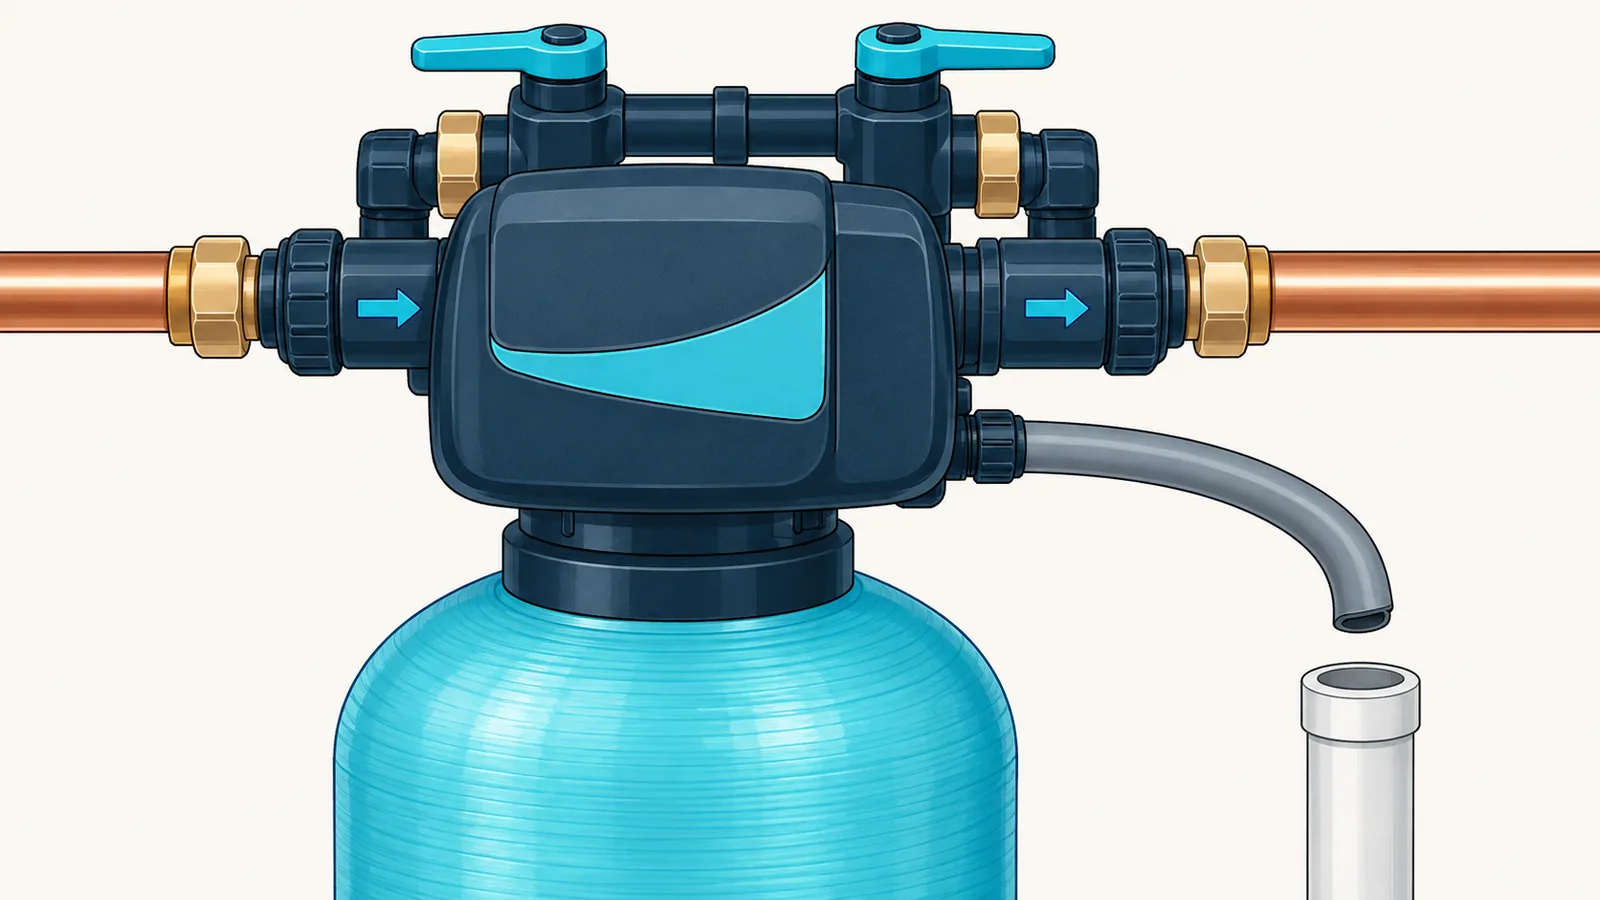
IN takes water from the street or pressure tank. OUT feeds the house. The valve head is stamped, every manufacturer uses the same convention, and reversing them produces a unit that runs, regenerates and softens nothing at all.Run the drain line with an air gap
Secure the drain hose to a standpipe, floor drain or laundry tub with a physical gap of at least two pipe diameters between the hose end and the top of the drain. Never push it into standing water and never seal it into the drain.Run the brine overflow separately
The overflow elbow on the brine tank gets its own line to the same drain, routed downhill the whole way. It exists for the day a float valve sticks, and it only works if it is lower than the fitting the whole run.Add water and salt in the right order
Put about three gallons of water in the brine tank first, then salt to no more than two thirds full. Salt into a dry tank is how bridges form, and a salt bridge means a unit that regenerates with fresh water and softens nothing.Open the bypass slowly
Move the bypass to service position a fraction at a time over a minute or two, with a tap open downstream. Full pressure into a dry resin bed pushes media into the house plumbing, and every aerator in the house pays for it.Program hardness, then regenerate by hand
Enter your grains per gallon, add 5 gpg for every 1 ppm of iron in the water, set the time of day, and run a manual regeneration to purge the manufacturing residue and prime the brine draw.
Programming: The Step That Decides Your Salt Bill#
The valve needs to know three things, and the first one is the only one people get wrong.
Hardness, in grains per gallon. Your real figure, not a round number. If your utility reports in parts per million, divide by 17.1 to convert, which is the USGS conversion. Then add 5 gpg for every 1 ppm of iron, because iron consumes capacity the same way hardness does and the valve has no other way to know about it.
Time of day. Regeneration typically runs around 2 a.m., and it is set from the clock you enter. An hour wrong is harmless; twelve hours wrong means the unit regenerates during the morning shower, sending hard water to the house for an hour.
Regeneration mode, if the unit offers it. Metered on demand beats a timer every time, because it regenerates on water used rather than on days elapsed. Every current unit worth buying, including the SpringWell SS1, meters by default.
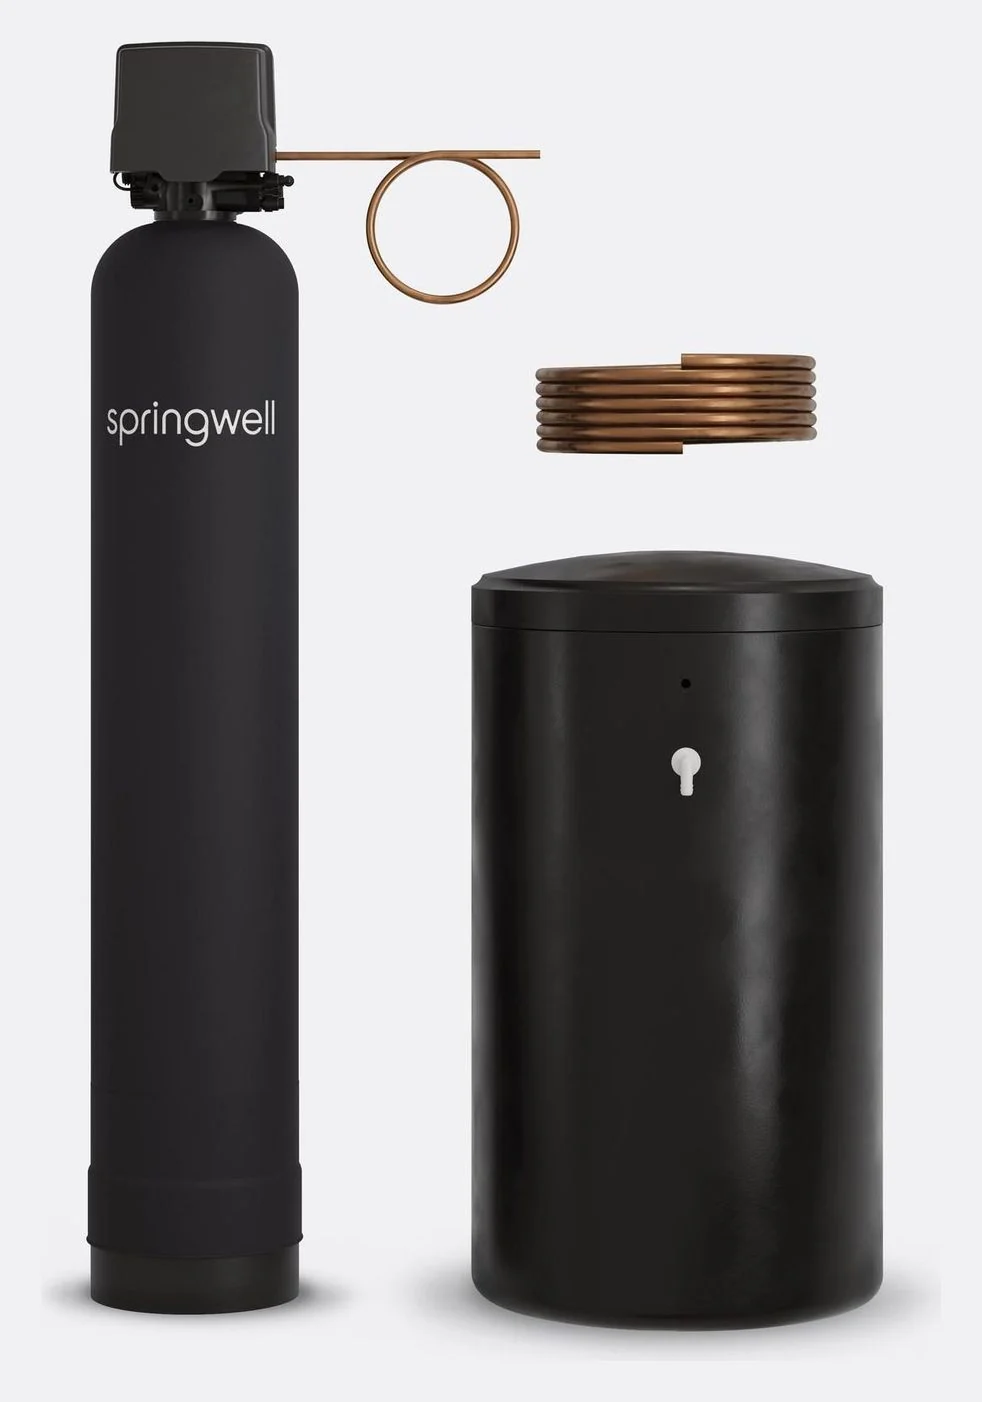
SpringWell
SpringWell SS1 Salt Based Water Softener
Best for: Homes with 1 to 3 bathrooms on hard city water that want true ion-exchange softening at a factory-direct price
- Grain capacity
- 32,000
- Service flow
- 11 GPM
- Bathrooms
- 1 to 3
- Tank
- 9" × 48" (57" with head)
- Connection
- 1"
- Brine tank
- 18" × 33" round (~200 lb salt)
First 48 Hours: What Normal Looks Like#
Soft water arrives gradually, because the existing hard water in the pipes and the heater has to be used up first. Expect the following, and do not treat any of it as a fault.
Cloudy or slightly coloured water at first. Manufacturing residue and disturbed sediment from the main. Run the cold taps for a few minutes.
A slippery feel in the shower, within a day. This is what soft water does: without calcium, soap does not form a curd on your skin, so it rinses differently. Nothing is wrong.
Slightly more salt use than the manual predicts, for the first week. The bed is establishing its exchange pattern. If the consumption has not settled after two or three regenerations, check the hardness you programmed.
A grinding or gurgling noise during regeneration. Normal, and it is the brine draw. If you hear it at 2 p.m. rather than 2 a.m., your clock is wrong.
What is not normal: no change in lather after 48 hours, water that still spots glassware, or salt that never goes down. All three point to the same short list, and the water softener maintenance guide covers the diagnosis.
What you hear
If the softener is running and using salt, it must be working.
What the numbers say
A unit plumbed backwards regenerates on schedule, consumes salt and softens nothing, because the water passes the resin bed in the wrong direction. A unit with a salt bridge does the same thing for a different reason: it draws from a cavity of fresh water under a crust of salt. Test the water after the first week rather than trusting the noise.
The Five Mistakes That Cause Callbacks#
- Inlet and outlet reversed. The unit runs perfectly and does nothing. Check the arrows before you close the wall.
- No air gap on the drain. A code failure and a genuine contamination risk, and the most common reason a DIY install fails inspection.
- Hardness left at the factory default. The valve regenerates on someone else's water, wasting salt or delivering hard water halfway through the cycle.
- Salt into a dry brine tank. Three gallons of water first, then salt to two thirds. Otherwise you are building a bridge.
- Bypass opened at full pressure. Resin fines through the house plumbing, and every aerator and fixture screen to clean afterwards.
When to Stop and Call a Plumber#
Any one of these, and the job is not a DIY job
5 itemsWhat that costs, and how the $300 to $1,500 range breaks down by situation, is in our installation cost guide. If you are replacing an existing unit rather than installing the first one, the connections are usually already there and the job is shorter, which our water softener replacement guide covers.
Budget Units That Are Genuinely DIY-Friendly#
Nothing about the job changes with the price of the machine, but bypass design and instruction quality vary a lot.
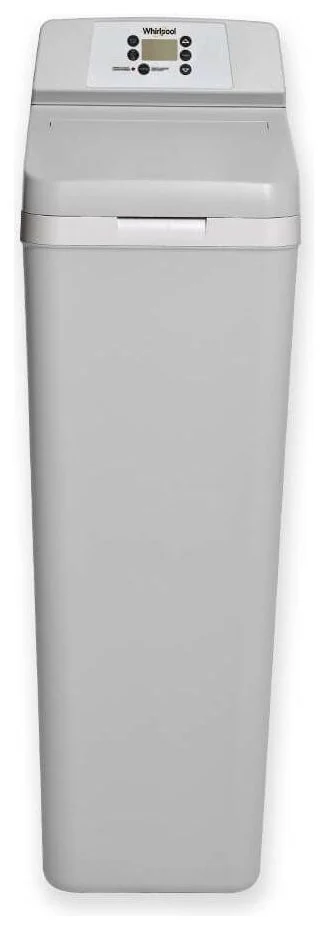
Whirlpool
Whirlpool WHES44 Water Softener (44,000 Grain)
Best for: Big families on a budget: the highest grain, hardness and iron ratings in the big-box aisle
- Grain capacity
- 44,000
- Flow rate
- 9 GPM
- Max hardness
- 140 GPG
- Iron reduction
- 12 PPM
- Retail
- Sold at Lowe's (machine not sold on Amazon, parts only)
Rheem
Rheem Preferred RHS32 Water Softener (32,000 Grain)
Best for: The budget tier-1 pick for tight budgets and handy owners, now that the GE GXSH40V is discontinued
- Grain capacity
- 32,000
- Flow rate
- 7.9 GPM
- Reduces
- Hardness and iron
- Retail
- Buy Exclusively At The Home Depot, not sold on Amazon
Both come with the plastic bypass and push-fit style connections that make a first install forgiving, and both are covered in our best water softeners ranking. The Rheem price is a dated reading from Aug 28, 2026 and has not been re-readable since, which we flag on the product itself rather than quietly refreshing.
Procedure compiled from the installation documentation of the units we track. Local plumbing code takes precedence over any step here, particularly on drain connections and on who may work on the main line.
Installation questions people actually search
Are water softeners worth installing?
On genuinely hard water, yes, and the case is mostly about the water heater and the appliances rather than the shower. Above about 10.5 grains per gallon, the USGS very hard classification, scale accumulation is measurable in years rather than decades. Below about 3.5 gpg the economics get thin, which our is-it-worth-it guide works through honestly.
Do I need a permit to install a water softener?
It varies by jurisdiction, and it is worth a phone call rather than a guess. Many areas treat it as minor plumbing needing no permit; some require a permit for any work on the main line or on a drain connection; a few require a licensed installer outright. The drain connection is the part inspectors care about.
Can a water softener be installed outside?
Only where it never freezes, and even then it needs protection from sun and rain. Resin and the valve head are not built for it. In warm climates a garage or an enclosed utility space is the normal answer; in cold ones, outside is how you replace a cracked valve body in February.
How far can the drain line run?
Most manufacturers allow roughly 20 to 30 feet and limit how high it may rise, because the valve has to push brine through it. Check your own manual for the figure, keep the run as short and as level as possible, and never exceed the stated lift.
Why is my water still hard after installing a softener?
Four causes, in order of likelihood: the bypass valve is still in bypass position, the inlet and outlet are reversed, the programmed hardness is wrong, or a salt bridge has formed in the brine tank. Check them in that order before calling anyone, because the first two are free to fix.
Frequently asked questions
Can I install a water softener system myself?
On most big-box and factory-direct units, yes. It is a two to four hour job for someone comfortable cutting and joining pipe, and the prerequisites are specific: an accessible main line or an existing softener loop, a drain within reach, and a power outlet for metered valves. Dealer brands are the exception, because Culligan and Kinetico install through their own networks.
How much should it cost to install a water softener system?
$300 to $1,500 with a plumber per 2026 Angi, HomeGuide and Fixr data, and nothing but your afternoon if you do it yourself. What moves the number is whether the house already has a softener loop and how far the drain is. Our installation cost page breaks the range down properly.
Will a plumber install a water softener I bought myself?
Most will, and it is a normal request. Expect labour-only pricing and expect the plumber to decline warranty responsibility for the unit itself. Ask before delivery whether they want the softener on site first, and confirm they will handle the drain connection, which is the part unlicensed installers most often get wrong.
How long does a water softener installation take?
Two to four hours for a straightforward DIY install with an accessible main line and a nearby drain, and often under two for a professional swapping an existing unit. Add time if you are building a bypass loop from scratch or running a new drain line, and add 24 to 48 hours before the system reaches steady soft water.
Which way round does a water softener go?
Inlet from the street or pressure tank, outlet to the house, and every valve head is stamped with arrows to that effect. Reversing them is the most common installation error: the unit appears to run, regenerates on schedule and softens nothing, because the water is passing through the resin bed backwards.
Does a water softener need a drain and a power outlet?
Both, on any metered salt-based unit. The drain carries the brine away during regeneration and needs an air gap so waste water can never siphon back into your supply. The outlet powers the valve head and its clock. Salt-free conditioners need neither, which is often the deciding factor when neither is available where the equipment has to go.
Keep reading
Not sure what you need?
Answer 5 questions, get the right system for your water.
City or well, budget, household size, our quiz matches your answers against every system we track.